Crediting your photographer for the images you upload to the platform is mandatory in order to adhere to ArchiPro copyright guidelines.
Further information on ownership of images outlined here.
Please review the step-by-step guide below on how to complete image photo crediting.
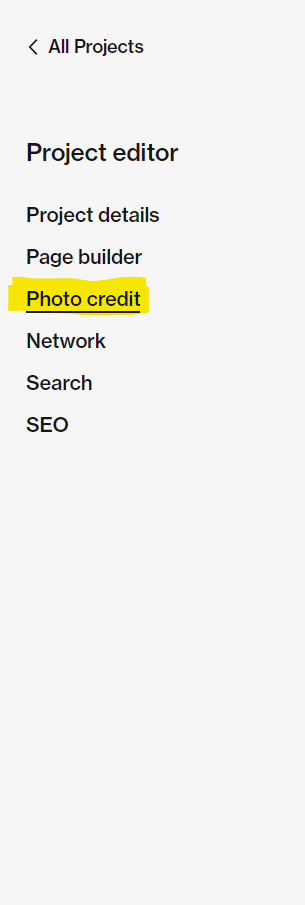
- Within the project editor, please select Photo Credit.

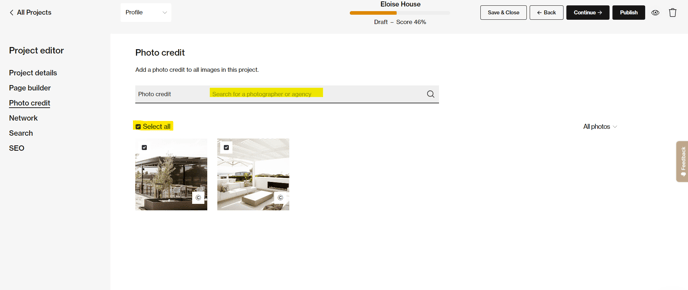
2. Click Select all. This will select all the imagery and begin typing the photographer in the search bar.

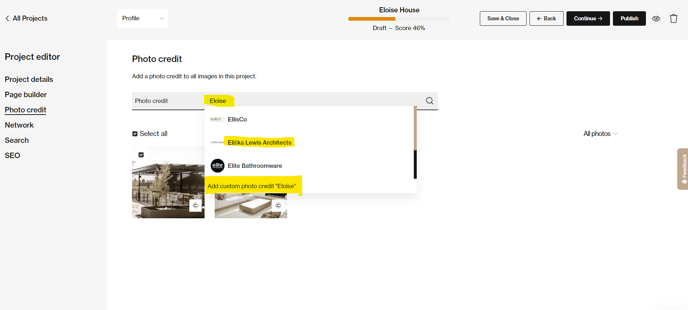
3. IF the photographer is a member of ArchiPro, their profile will appear; select the profile.
If your Photogpraher IS NOT a member of ArchiPro, select Add custom photo credit.

Top Tip: If the images were taken by a member of your business, simply add your business for photo credit. For this to work effectively, your profile will need to be live; otherwise, you will be adding a custom photo credit.
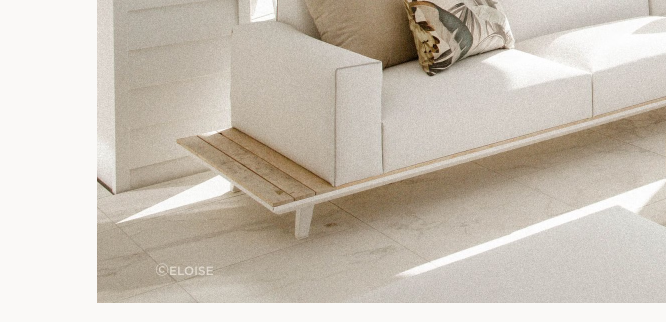
4. The final image with completed photo credit added will look like the one below.

5. Once completed, submit your project for approval. Please note that our Platform Success team reviews all content. We aim to approve all content within two business days.
Photo credit counts towards your total Project or Article score; adding one is mandatory for projects to appear in the directory.
