The banner image for your Project or Article will be automatically set as the thumbnail image, unless you specify that another image should be used as the thumbnail.
To manually update the thumbnail image for a Project or Article
- Head to your Projects or Articles and click into the one you would like to set the thumbnail image for. Make sure you are in edit mode by clicking the pen tool in the bottom left corner of your profile or navigate via Business Manager.
- In the Project or Article Page Builder tool, simply navigate to the image you would like to set as the thumbnail. Automatically the banner image at the top has been set as the thumbnail. We do recommend that if you don't wish for this image to be the thumbnail, you select the top image within the Project to avoid a disjointed experience for the user.
- Hover over the image and select the pencil 'edit' icon.
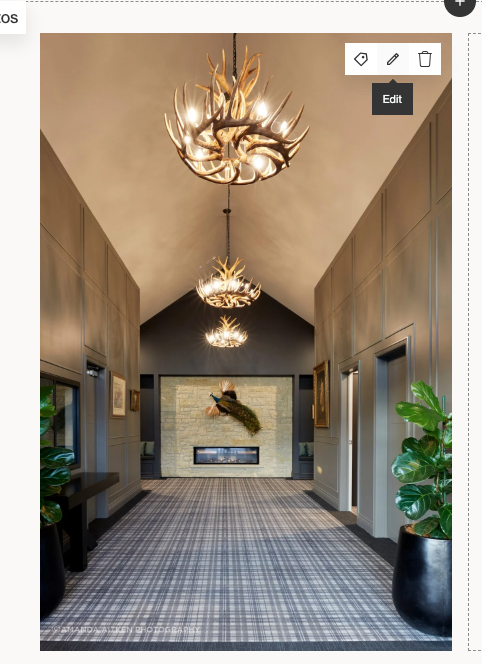
-
Click on the star symbol on the right. Once you click the star symbol, this will update the thumbnail. Click 'Save and Close' to complete.
Editing thumbnail images for a Project or Article
- When you are browsing the category pages, simply click on the repositioning icon to access the project or article Page Builder tool.
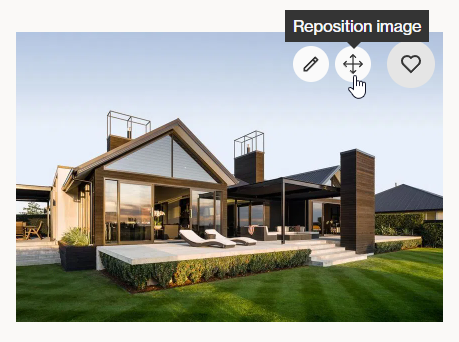
- This will open the image editor for the thumbnail image.
- From there, you can adjust the position or apply a filter to the image.
- These changes will be reflected on both the thumbnail and the original image on the project or article.
This change may take a few minutes to update on the category page