Setting up your payment gateway with Stripe
Last Updated: 09/08/24
You may want to use Stripe as one of your payment gateways. This is an easy way to receive payments from online store purchases.
About Stripe
Stripe is a payment gateway that has an easy-to-use interface and is quick to set up.
As there is no merchant bank account required, it's possible to have your Stripe account up and running within minutes without any 'account approval' delay. There are no monthly fees and the per-transaction fee is very reasonable.
Stripe will transfer funds to your bank account on the schedule you specify (daily/weekly/monthly) and it will take only a few days for funds to arrive.
Setting up a new Stripe account for the first time
Step 1
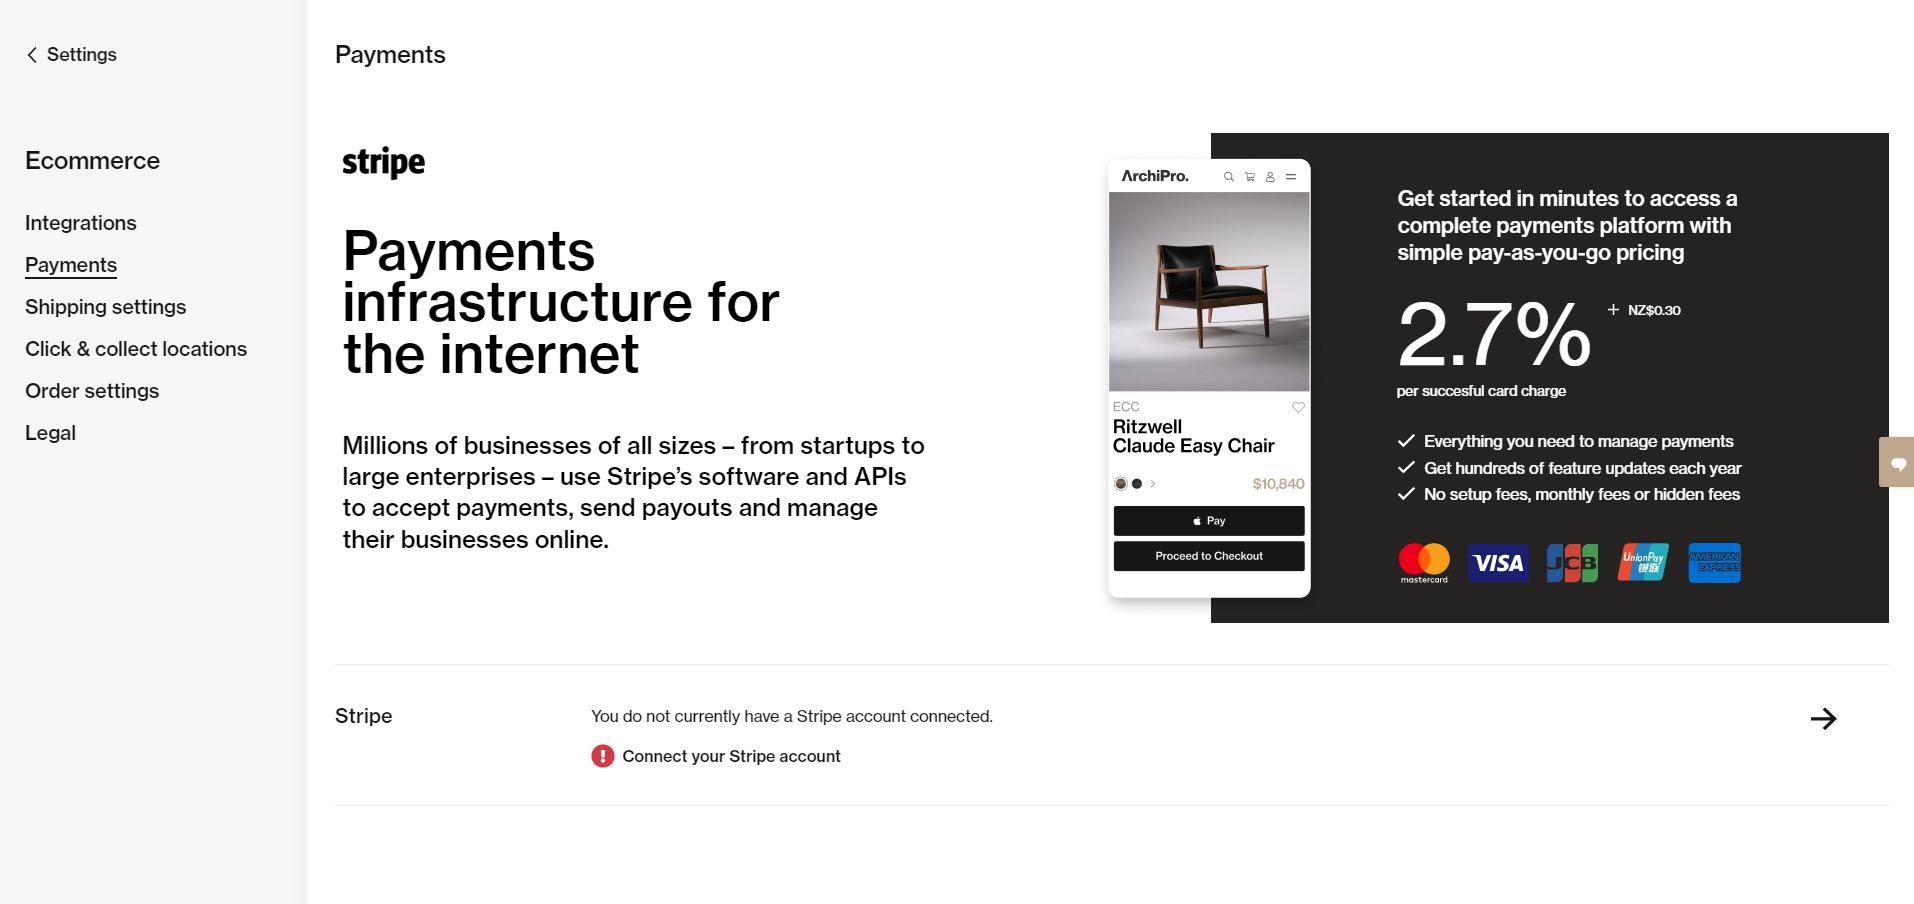
Log on to your professional account on ArchiPro. Click the Profile icon in the top right menu and select your Professional name. Select Settings, E-commerce, then Payments. Click on the Stripe button to get started.
Step 2
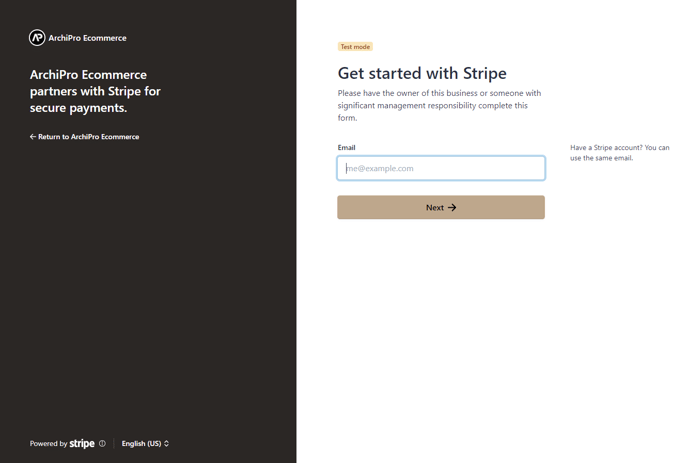
The first step to setting up your Stripe account is to fill in your email. Once you have completed this step, click next.
- If you already have a Stripe account and want to use this one, then enter the email address and password that manages your existing account
Step 3
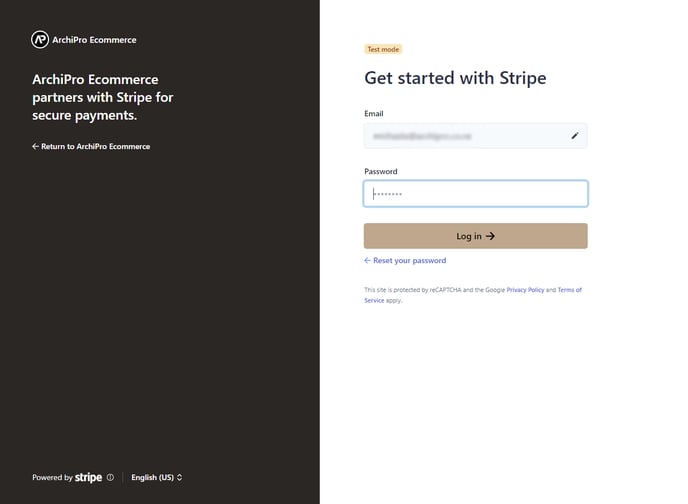
You will now be required to create a password for your Stripe account. Once you have completed this step, click log in.
Step 4
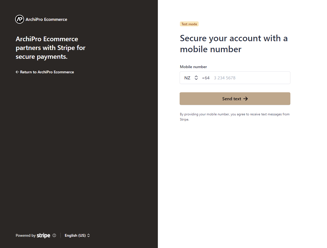
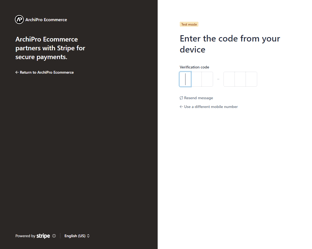
You will now be required to add a phone number for your Stripe account and verify your number with the code sent to your phone.
Step 5
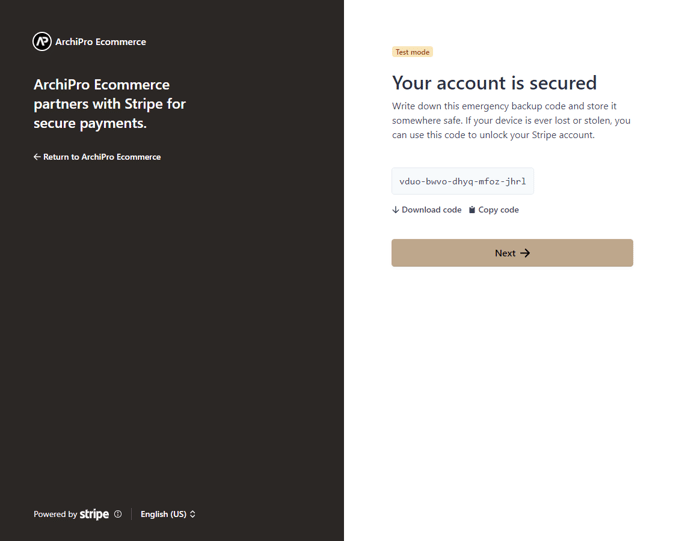
Copy and save the emergency code to a secure location as a backup for your Stripe account.
Step 6
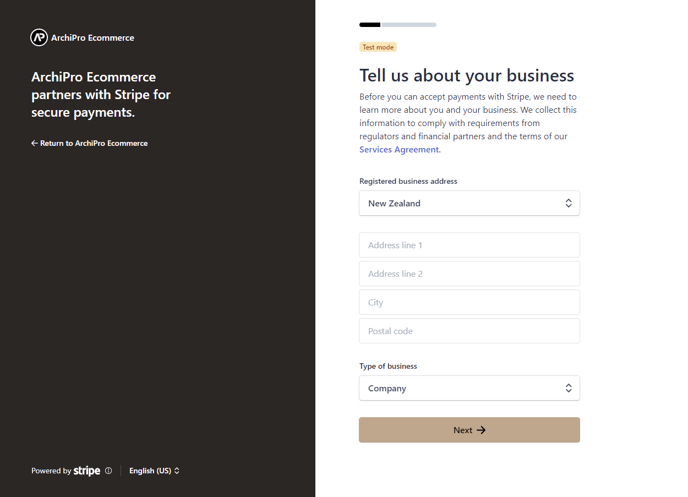
Now you will need to fill out your business information, including the address and type of business you operate.
Step 7
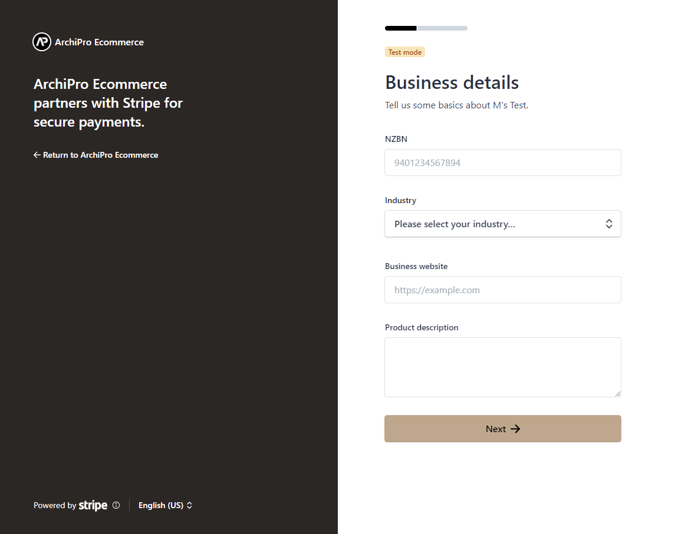
Next, you will need to complete the following fields: NZBN number, business industry, website address and a description of your business.
Step 8
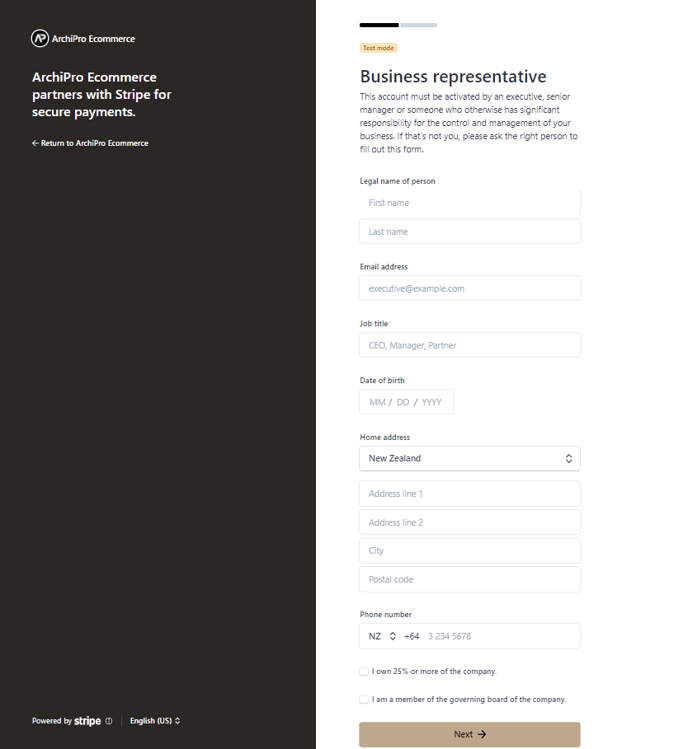
This step requires a bit more information about your position in the business. It must be set up by someone in a managerial position. Please fill out your personal information, including your legal name, email, job title, DOB, address, and phone number.
Step 9
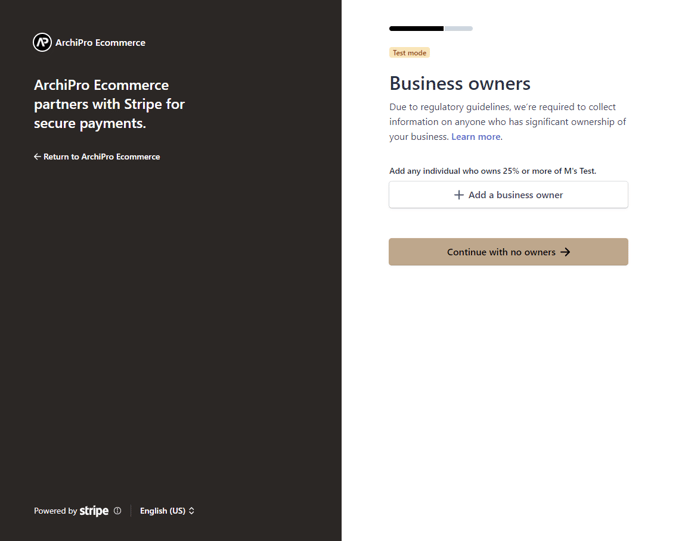
This step allows you to add any other business owners and their personal information, similar to the previous step.
Step 10
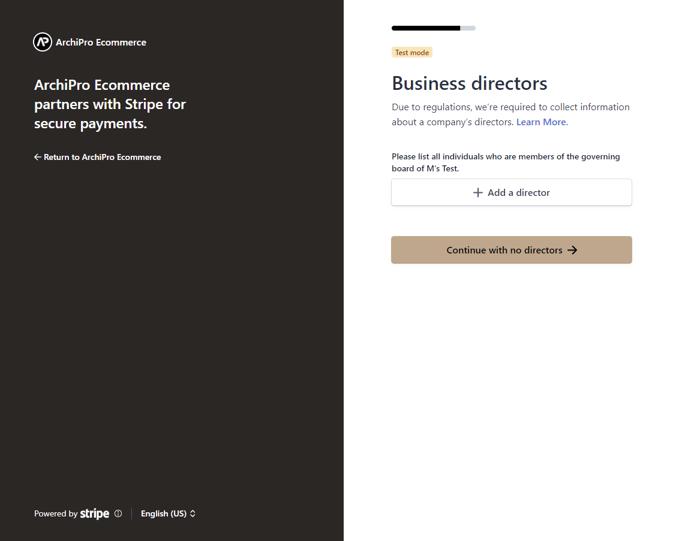
This step allows you to add business directors and their personal information. If this doesn’t apply, you can continue without adding any directors.
Step 11
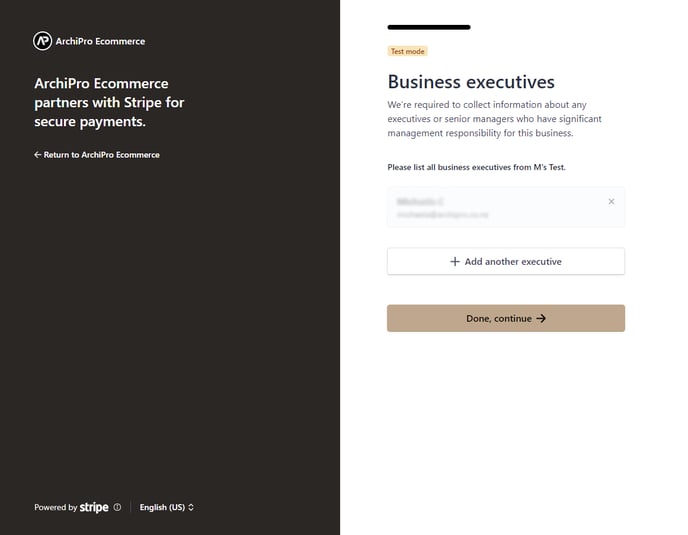
This step allows you to add more business executives and their personal information.
Step 12
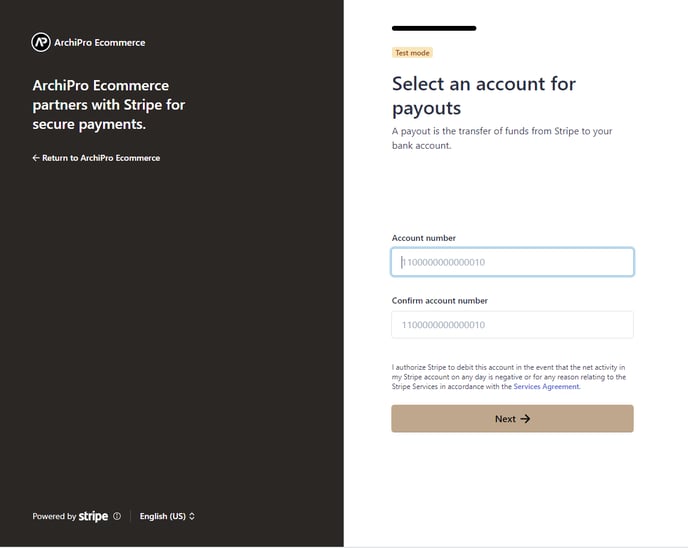
Now, you will need to fill out the bank account number in which you want your Stripe payments to be received. This will likely be your business's bank account number.
Step 13
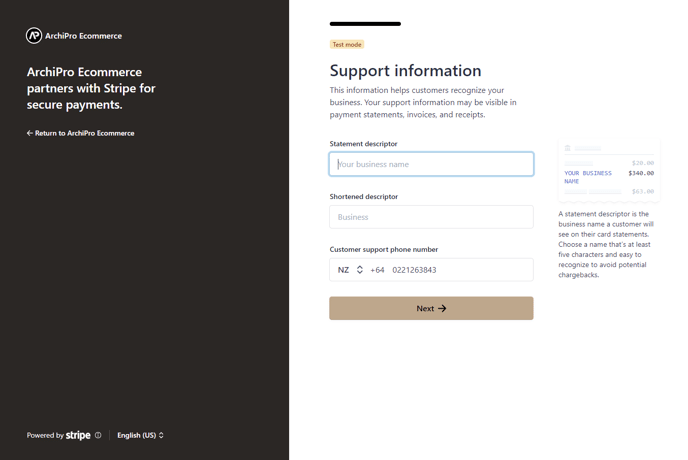
Next, you will need to add a statement descriptor, which is the name you want to appear on your customers’ statements after they make a purchase. This descriptor should also include a phone number that your customers can call if they need any support.
- Statement descriptor: This is the name that will appear on the customer's statement
- Shortened descriptor: A shorter version of the above.
- Support phone number
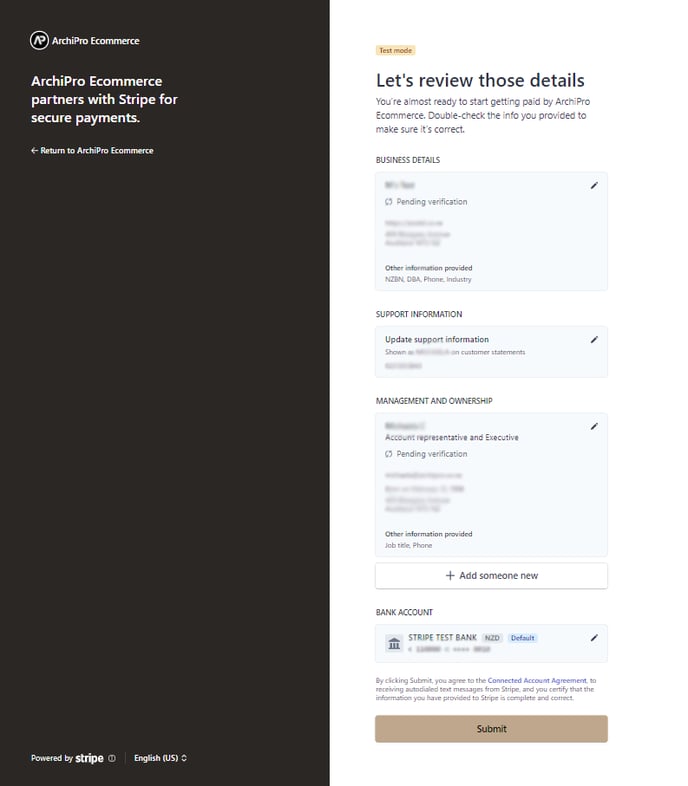
Step 14
Stripe will now provide you with an overview of all the details you have entered in the previous steps, you will also be able to see which information has been missed or is incorrect. Once you have reviewed all of the information and have confirmed it is correct, press submit. Congratulations, you have now successfully set up your Stripe account to receive payments from your ArchiPro Marketplace platform!
