Whilst using our Project Page builder you can upload, edit and reorder your uploaded images for your project.
Uploading Images
Our interactive Project Page Builder has been developed so that you can edit your project and see what it will look like for users in real time, and you are able to customise the layout depending on your preference.
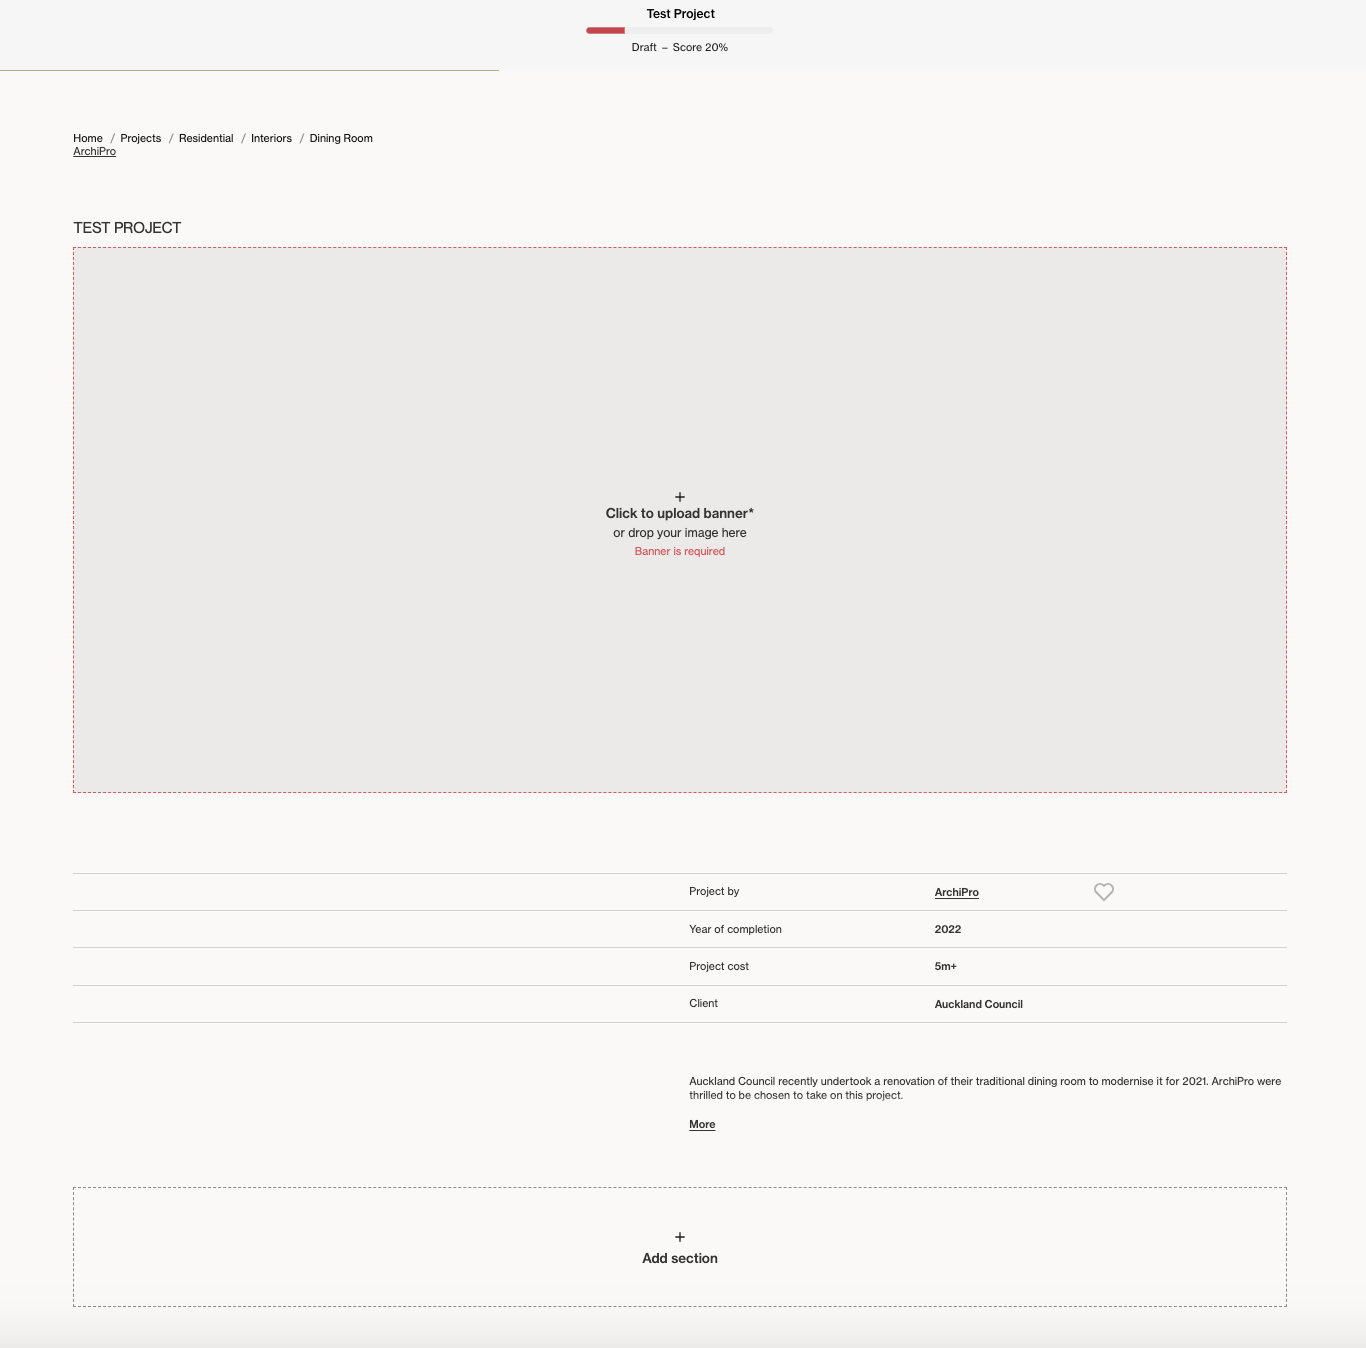
The top image is your banner or hero image for your project. You can drag in a high resolution single landscape image or click on the box to upload it from your computer. The ideal dimensions are 1820 x 818 pixels.
The banner image will also be the thumbnail image of your article, unless you specify that another image should be used as the thumbnail as you build your article and add further images.
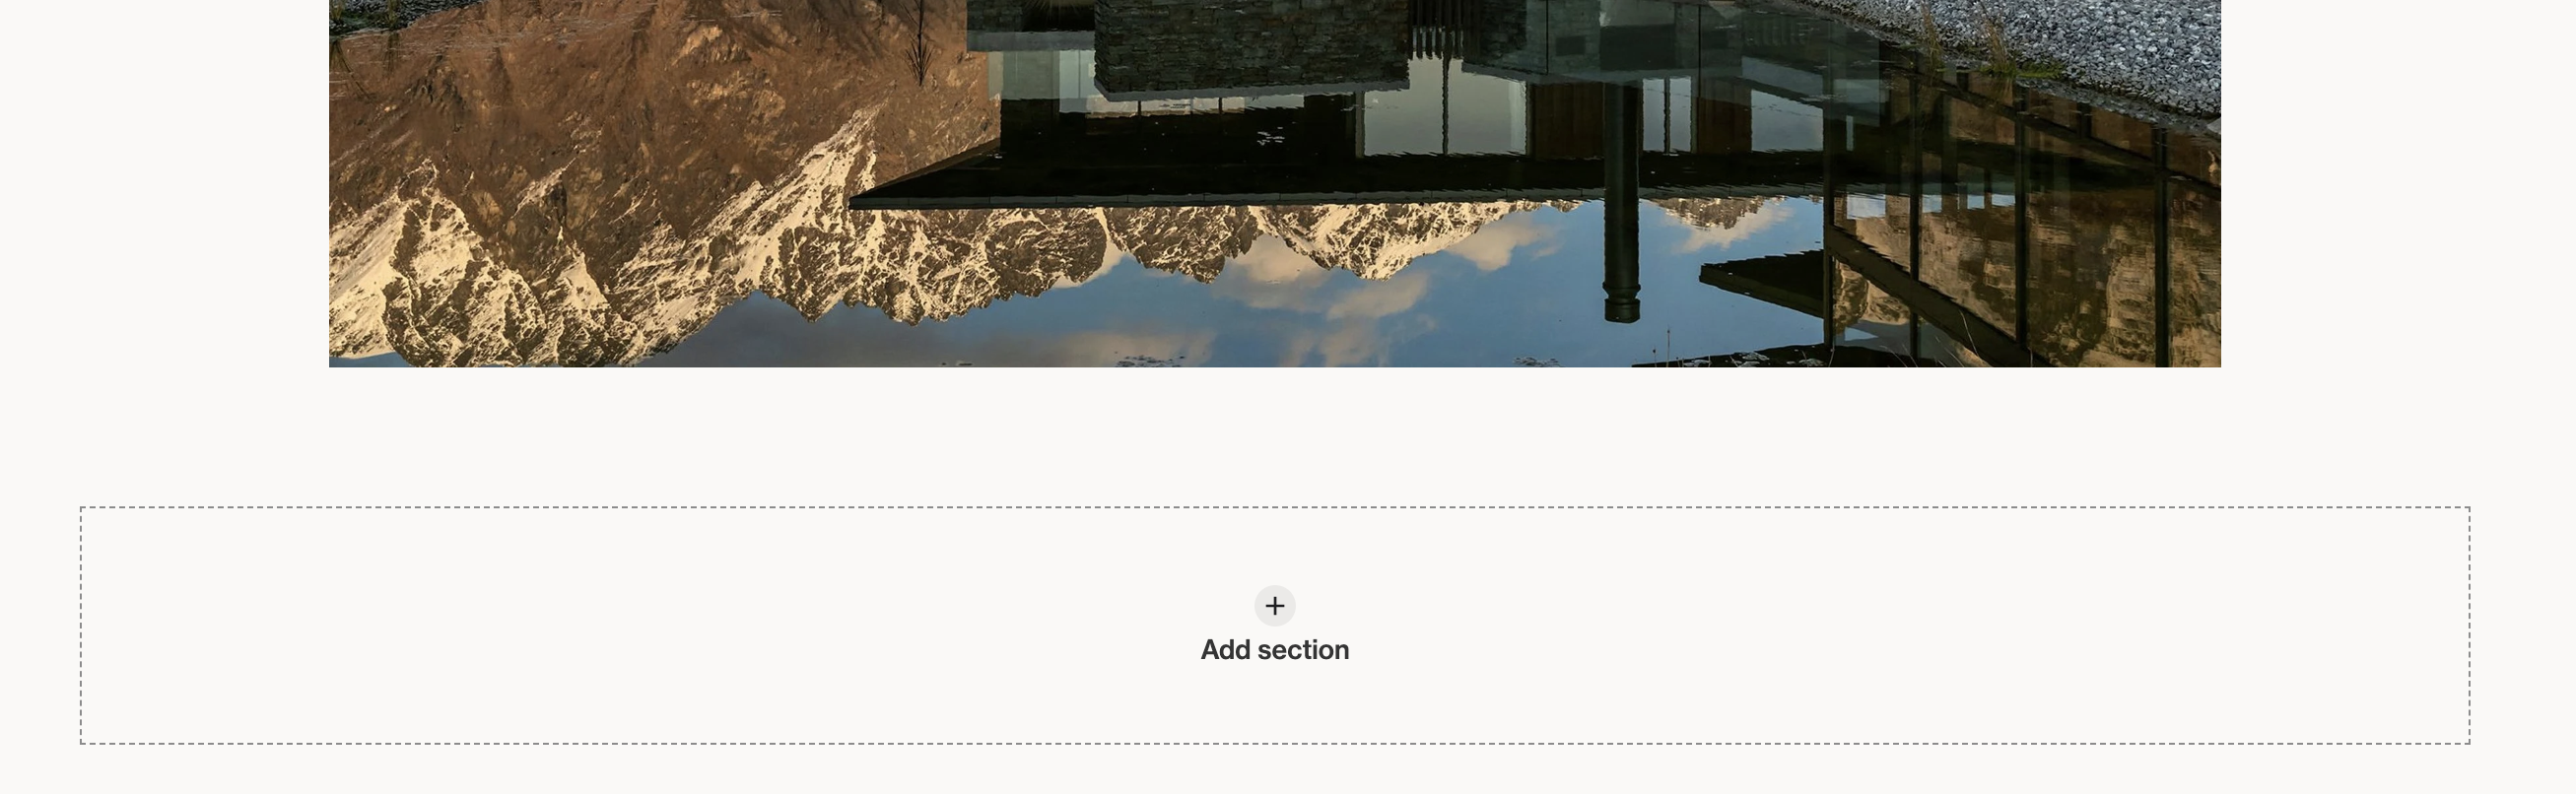
Click ‘Add section’ below your banner image to start adding images and/or additional content for your project. You can also auto-upload up to 20 images, which will be laid out in the order they are selected.

There are 4 different section types you can choose from:
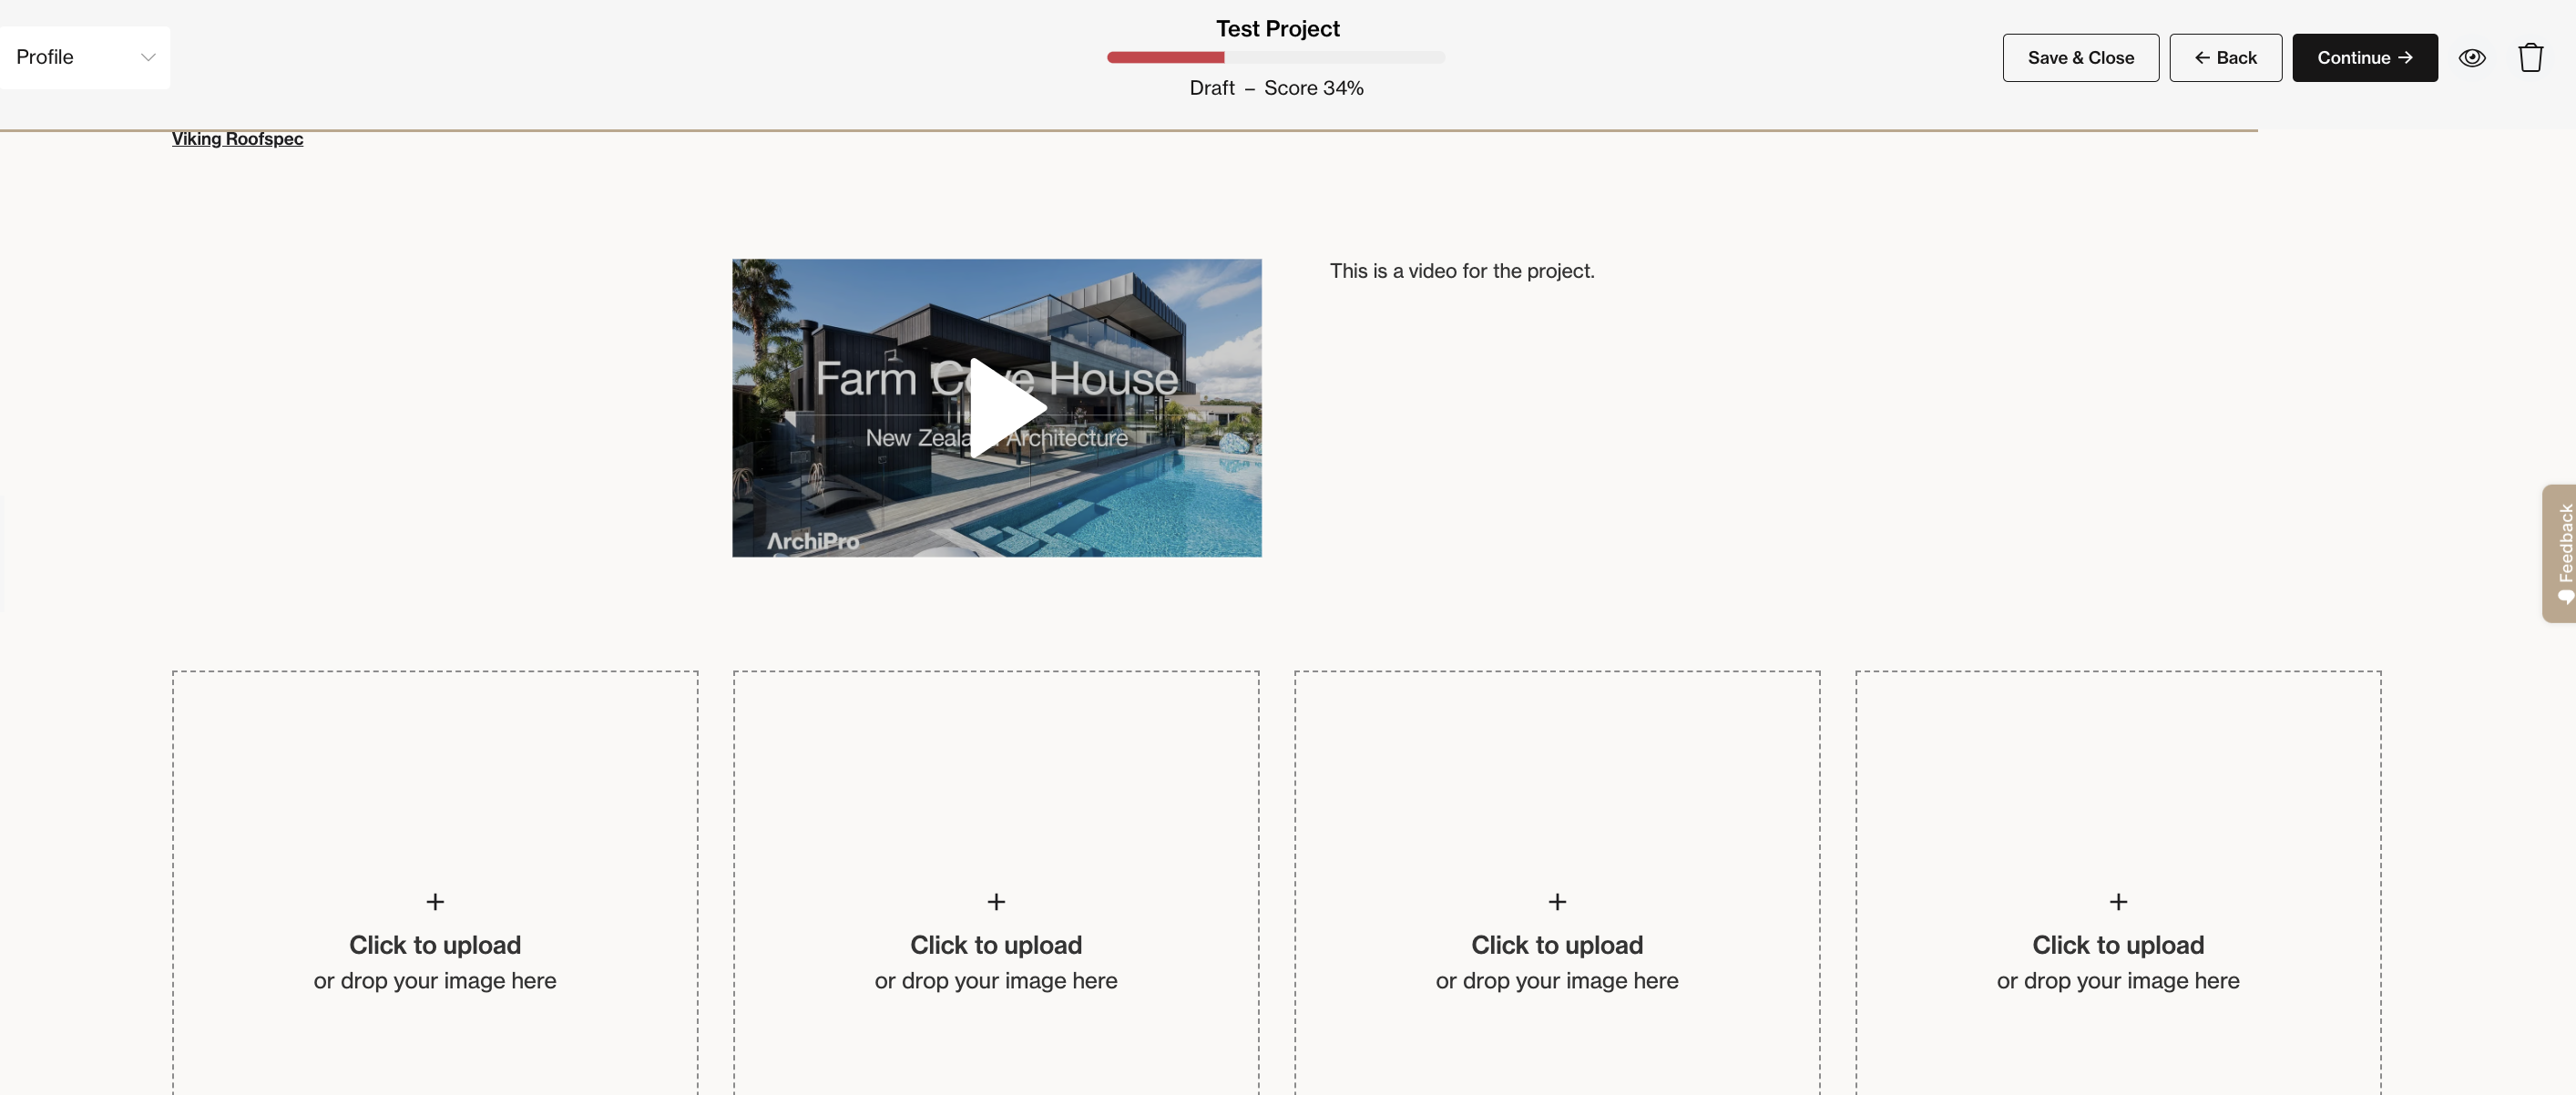
- Photos
- Gallery
- Videos
- Text
To add images, select 'Photos' or 'Gallery' and there are a few different styling options:

Simply select the section and style you wish to insert and then click to edit that section eg. add image from your library.
Editing Images
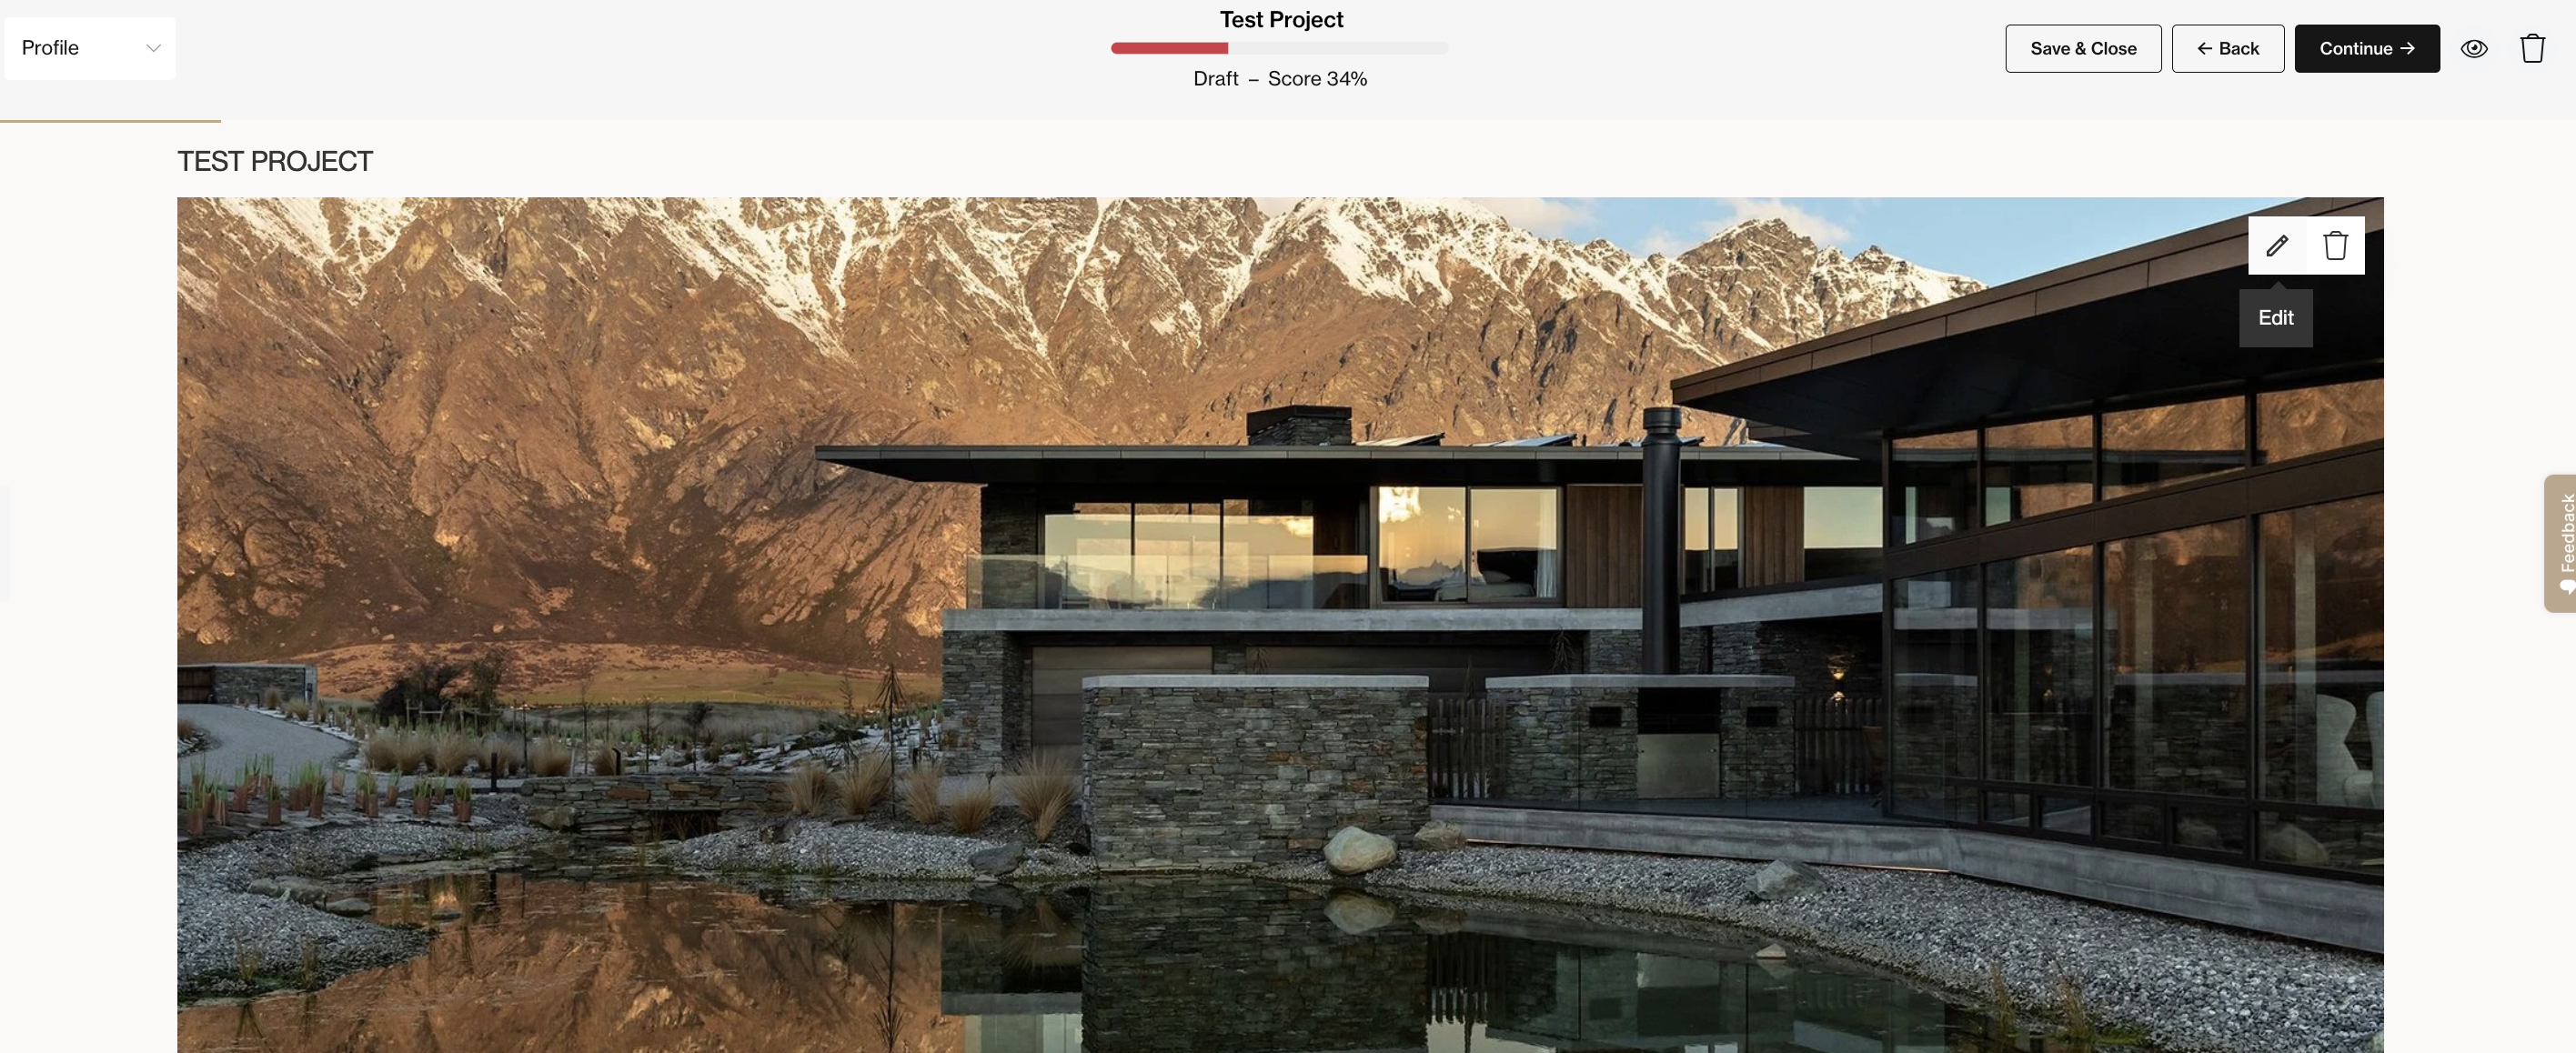
If you hover over any image you have uploaded, on the top right corner of the image, you can click the trash can to remove the image so you can replace it with a different one. If you click the ‘edit’ or pencil button, you will find the image editing tools.
If you have licensed professional images, most photographers have rules around cropping and editing images - here are some guidelines to follow.
Repositioning the image
The ‘compass’ icon lets you adjust how the image fits in the provided space.
Filter an image
The ‘magic wand’ icon allows you to apply a filter from a variety of available filters. Make sure to hit ‘Apply’ if you want to save any changes you make or ‘Cancel’ if you don’t want to save any changes. If you have licensed professional images from a photographer, there are often guidelines around amending these images which you can learn more about here.
Set the thumbnail image
- Click on the star symbol on the right. Once you click the star symbol, this will update the thumbnail.
- We advise that thumbnail images should be the top image within a Project if not the banner image at the top which is automatically set as the thumbnail to avoid a disjointed user experience.
Add a URL
You can click the 'link' icon to make the image clickable - add a URL that the image will click through to - either on ArchiPro or an external site.
Add a caption
You can add a caption at the bottom of the image in the 'Caption' box.
Credit your photographer for the image
The Photo credit box allows you to search for a photographer or professional on ArchiPro whose images you need to credit.
If the photographer responsible for the images is not on ArchiPro, you can 'Add custom photo credit' instead so that the photographer will still be credited, it just won't link to them on ArchiPro. If you or a representative from your business took the photo, you can credit your own company as the photographer.
Photo credit counts towards your total Project or Article score and adding one is mandatory for projects to appear in the directory.
Remove the image
The trash can icon allows you to remove the image altogether and replace it with another image.
Re-ordering Project Imagery
Projects work in a box-like system whereby you can create various sections, edit them, rearrange them or delete them as you go.

When you hover over a section within the Page Builder, five icons will appear (see image above), these will assist in editing and re-arranging your sections/content.
Switch Components
Selecting the 'cog' icon will open a window that allows you to switch components within a section. Note that if you have two images in a section and switch to an option with one image component, the second of the original images will be removed. The same applies to text components.

Page Layout Panel
Selecting the icon with the four squares opens a panel on the left that allows to easily jump to and re-arrange sections.

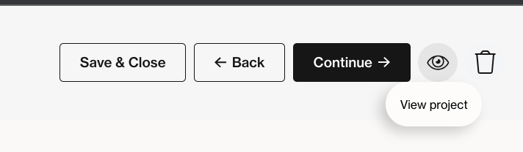
Preview your changes
As you build your project, you can preview what it will look like for users at any time by clicking the ‘eye’ icon at the top right of your screen.